

Wild Fermented Soda | MASTERCLASS
Harness native yeast populations to make seasonal drinks

In this masterclass, I will outline how you can turn any and all fruits, berries, herbs, and aromatics into sparkling, fermented soda. These low/no alcohol drinks (depending on how you make them) are a wonderful way to enjoy flavours through the seasons. Raw and full of wild cultures, these drinks often boast unique and bold flavours that are a true reflection of their ingredients and native microbial populations.

Introduction
Yeasts are everywhere. Mostly, like some people I know, hanging around waiting for a sweet treat. These prolific wild species are single celled fungus, and related to the same microorganisms responsible for wine, beer, kombucha, bread, some cakes, and pastries like croissants. Without yeast, food and drink would be flat (quite literally) and dull.
If you’ve ever noticed the pearly white coating on the outside of fresh grapes, currants, or berries, that you can wipe away, then you’ve seen evidence of these yeasts. The waxy layer itself is produced by the plant, however, the white colouration is from yeasts living on the outside of the fruit, waiting patiently for access to the sugars inside.
Given the right conditions, these yeasts can be collected and put to use in making food, unlocking flavour, and producing carbon dioxide and alcohol. But some measures must be taken to avoid the risk of sickness.
Safety
There are three methods we can use to make wild soda safe. Regulate acidity, which is a fancy way of saying add a slice of lemon. Keep them aerobic with a breathable lid. And/or shake or stir them once a day.
The acidity prevents certain pathogens from taking hold and causing illness, so I always recommend adding a slice of lemon, or juice. Pick an acidic ingredient that pairs well with whatever other ingredients you wish to make soda out of. If you’re making one with berries or fruit that’s already acidic then skip this, but for teas and herbal infusions, I always opt for this as a safety measure.
Aerobic fermentation prevents certain microbes from producing toxins, which they only do in anaerobic conditions. For this reason, for the first three days of soda making, I use a breathable fabric or paper lid. If you’re making a highly acidic soda (pH of 4 or lower) you can skip this step, but skipping it will also produce different flavours. For example, in wine or yoghurt making, I opt to keep the ferment aerobic for the first few days to encourage more complex flavours, then close off the ferment to focus on either ethanol production or lactic acid production. In the case of yoghurt, the difference in flavour is similar to cheese (aerobic) and standard tangy yoghurt (anaerobic).
In soda making, the first few days of aerobic fermentation gives us very interesting results, then we close it off in a bottle to allow carbonation to build and, to my tastebuds at least, provide more depth of flavour.
Finally, motion. Give your wild soda a good stir daily. This does two things. Disturb the ingredients and surface of the soda, where mould and unwanted microbes might take hold (but can’t if you keep disturbing them). And introduce oxygen into the liquid, which gives the yeasts a boost.
You can also use a weight or cap to hold the ingredients below the surface of the liquid, but I’d still opt to stir it daily for the first two to three days as this will improve flavour and aid in fermentation.

Core Recipe | Wild Fermented Soda
My plan with this recipe is to outline how I go about making wild fermented soda from herbs, then give you a bunch more recipe suggestions for you to try out from my all time favourites. Reading the ingredients list below you might wonder why I’ve listed the herbs by the ‘handful’. Unlike other fermentation recipes, where the weight of every ingredient is rather important, the crucial part in this technique is the level of acidity and sugar. So as long as the amount of lemon, sugar/honey, and water remain at the right level, the addition of herbs doesn’t have much impact besides infusing flavours and introducing our yeast.
This lemon balm and mint soda is the recipe featured in the Kitchen Garden Fermentation course I made a few years back with Huw and blew his (and his dad’s) minds. If enjoyed uncarbonated, it has a similar taste to a very nice gin, but with no alcohol. By the way, that course has now been added as an additional freebie to the Salt Preserving course on the Grower’s Guild. Which you can find by clicking here. There is also a 50% discount code for my paid members, and Founding Members get free access. If you want to find out more, check my Substack members chat.
Ingredients:
A handful of lemon balm
A handful of fresh mint leaves
½ lemon, sliced
90g sugar or honey
900ml fresh, cold water
Equipment:
1L jar
Fabric to cover it
Rubber band / string
Fermentation pebble
Knife and chopping board
Fine mesh sieve or straining bag
Glass bottle
Bottle funnel
Scales
Pick the herbs fresh. If you don’t specifically have lemon balm or fresh mint, you can use other herbs (like verbena), but stick to those that are suitable for drinks. Give them, and the lemon, a gentle clean under cold water and check for pests or damage.
Add the sugar or honey to the water and stir until dissolved. Cut up the lemon and add this too, giving it a heavy handed stir to crush the juice into the liquid. To make this process safe, you just need the juice, but I add the lemon with its rind for the extra aromatics in the rind oil and infusion of bitterness that contributes to a smooth mouthfeel.
You have the option to remove the leaves from the stems of the herbs or put them in whole. The difference is that the stems contain higher levels of tannins, which produce a bitter taste in the soda. I quite like the flavour in the right amount, but if you don’t, remove them. Another added bonus is without the stems it’s easier to fit more in. But with the stems, it's easier to keep the plants submerged with weights.
If you want to add a fermentation weight then go for it, but it can be tricky to balance them on top of the loose ingredients. Another option is to add the glass lid from a smaller (Weck) jar to make sure the ingredients aren’t floating above the surface of the liquid. If you don’t have these options then stick to stirring the soda twice a day. This will make sure any part that does float above the surface doesn’t stay there too long before being washed with acidic liquid (halting pathogens).
Cover the jar with a breathable lid and leave it somewhere preferably between 18-24°C (64-75°F) out of direct sunlight for 2-3 days. If you haven’t used a weight, remember to stir it twice a day.
During this time, the liquid may turn cloudy white. This is perfectly normal, and a sign that wild yeasts are active.
After 3 days, pour the liquid through a fine mesh sieve or straining bag into a sterilised bottle and close the lid. Leave it at room temperature for a day, then chill in a fridge for 1-2 days. Depending on how active your soda was during the first fermentation period, this should be enough to make a carbonated soda. If this is your first time making one and you aren’t sure how quickly the pressure builds, swap out the glass bottle for a food safe plastic one. Now you can feel the pressure by giving it a squeeze.
And there you have it. Enjoy your wild fermented soda chilled from the fridge, or room temperature. Carbonated or still. Or even gently warmed. These are short-lived fermented beverages, so once made, consume within 3-4 days.
Note: If you want to avoid alcohol production, move straight to a fridge after bottling or drink right away at room temperature. It is the anaerobic environment that favours alcohol production. Prior to that, this technique won’t exceed more than 1-2% ABV.
Additional Recipe Ideas
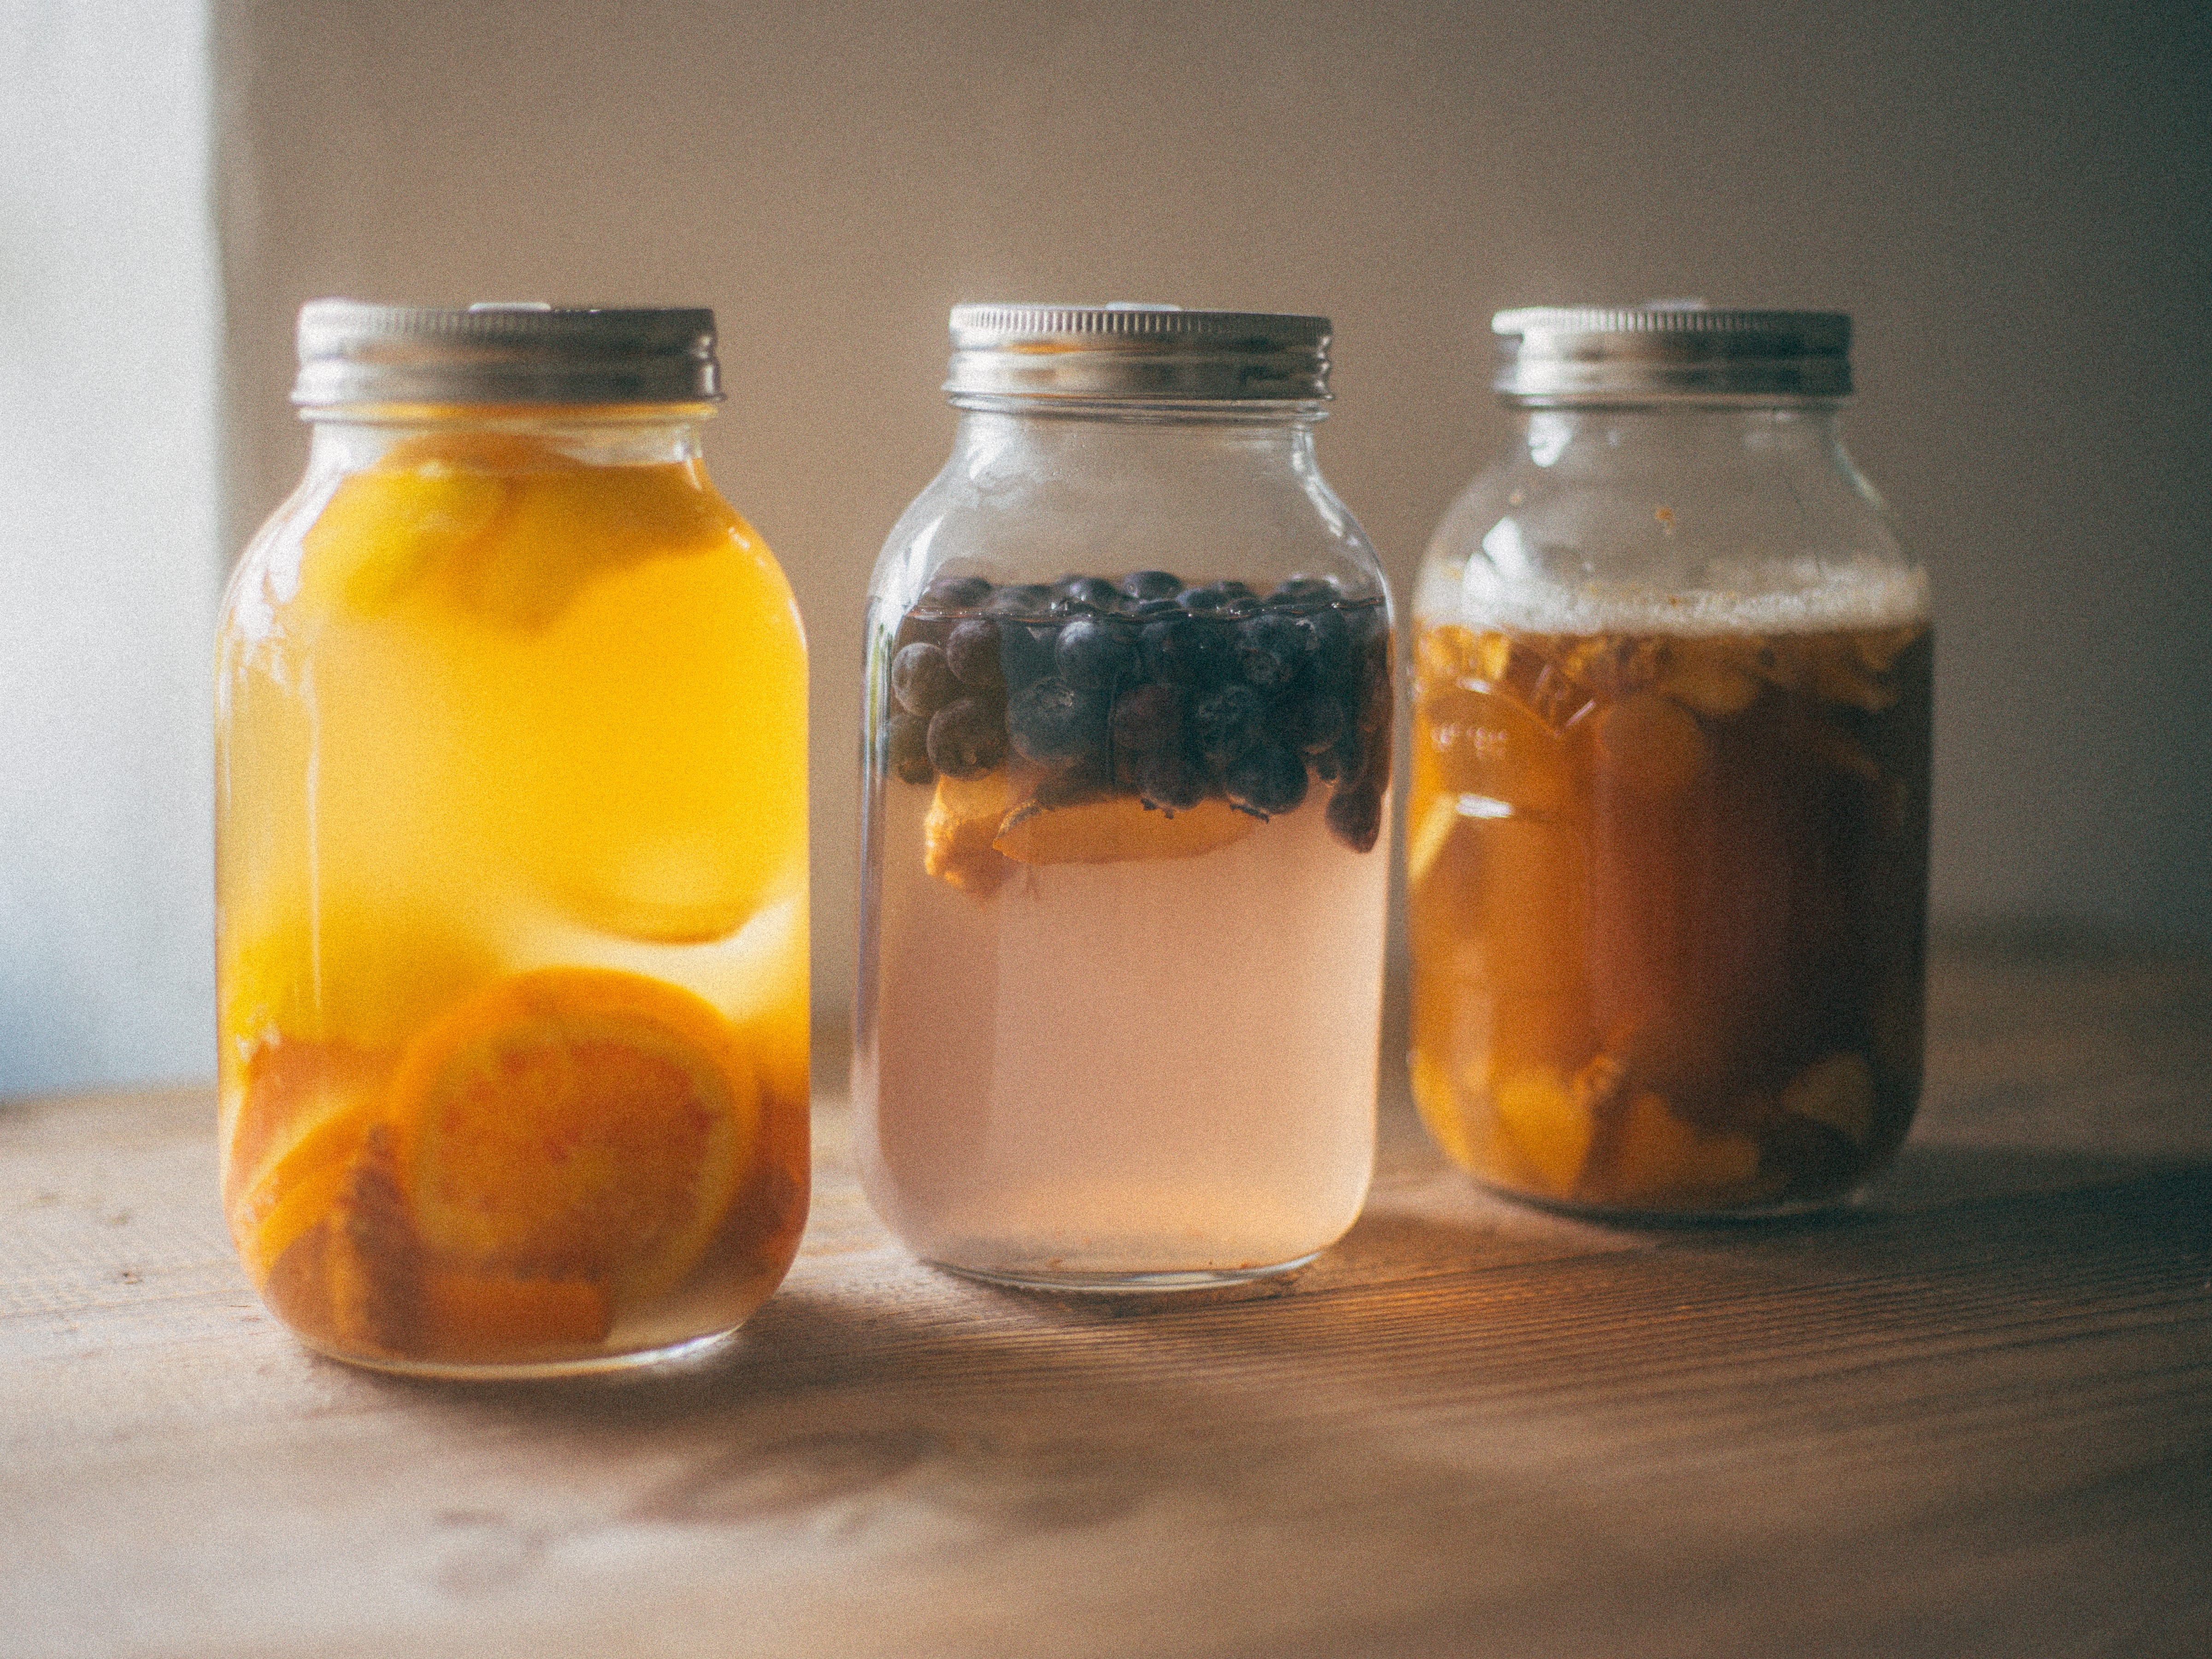
Orange soda: Infuse a cinnamon stick and slices of orange to make an incredibly refreshing soda with a healthy dose of vitamin 2 for winter.
Lemon and Elderflower soda: In Spring, pick fresh elderflower and pinch the blossom from the stems. Add a whole lemon for extra flavour and ferment as listed above.
Wild Berry soda: Add a handful of berries (along with the slices of lemon) to make a delicious berry soda. This works especially well with blueberries, honeyberries, and strawberries. If using blackcurrants, include a few young leaves.
Ginger soda: In a hybrid between ginger beer and a ginger bug, chopped up ginger root with lemon and honey makes an incredible, often very active soda that packs a gingery spicy punch.
Magnolia soda: A similar flavour to ginger, magnolia flowers are spicy, floral, and beautiful. In my part of the world, they’re one of the first flowers to appear in early spring and well worth collecting for soda making (remember to include lemon or orange for acidity).
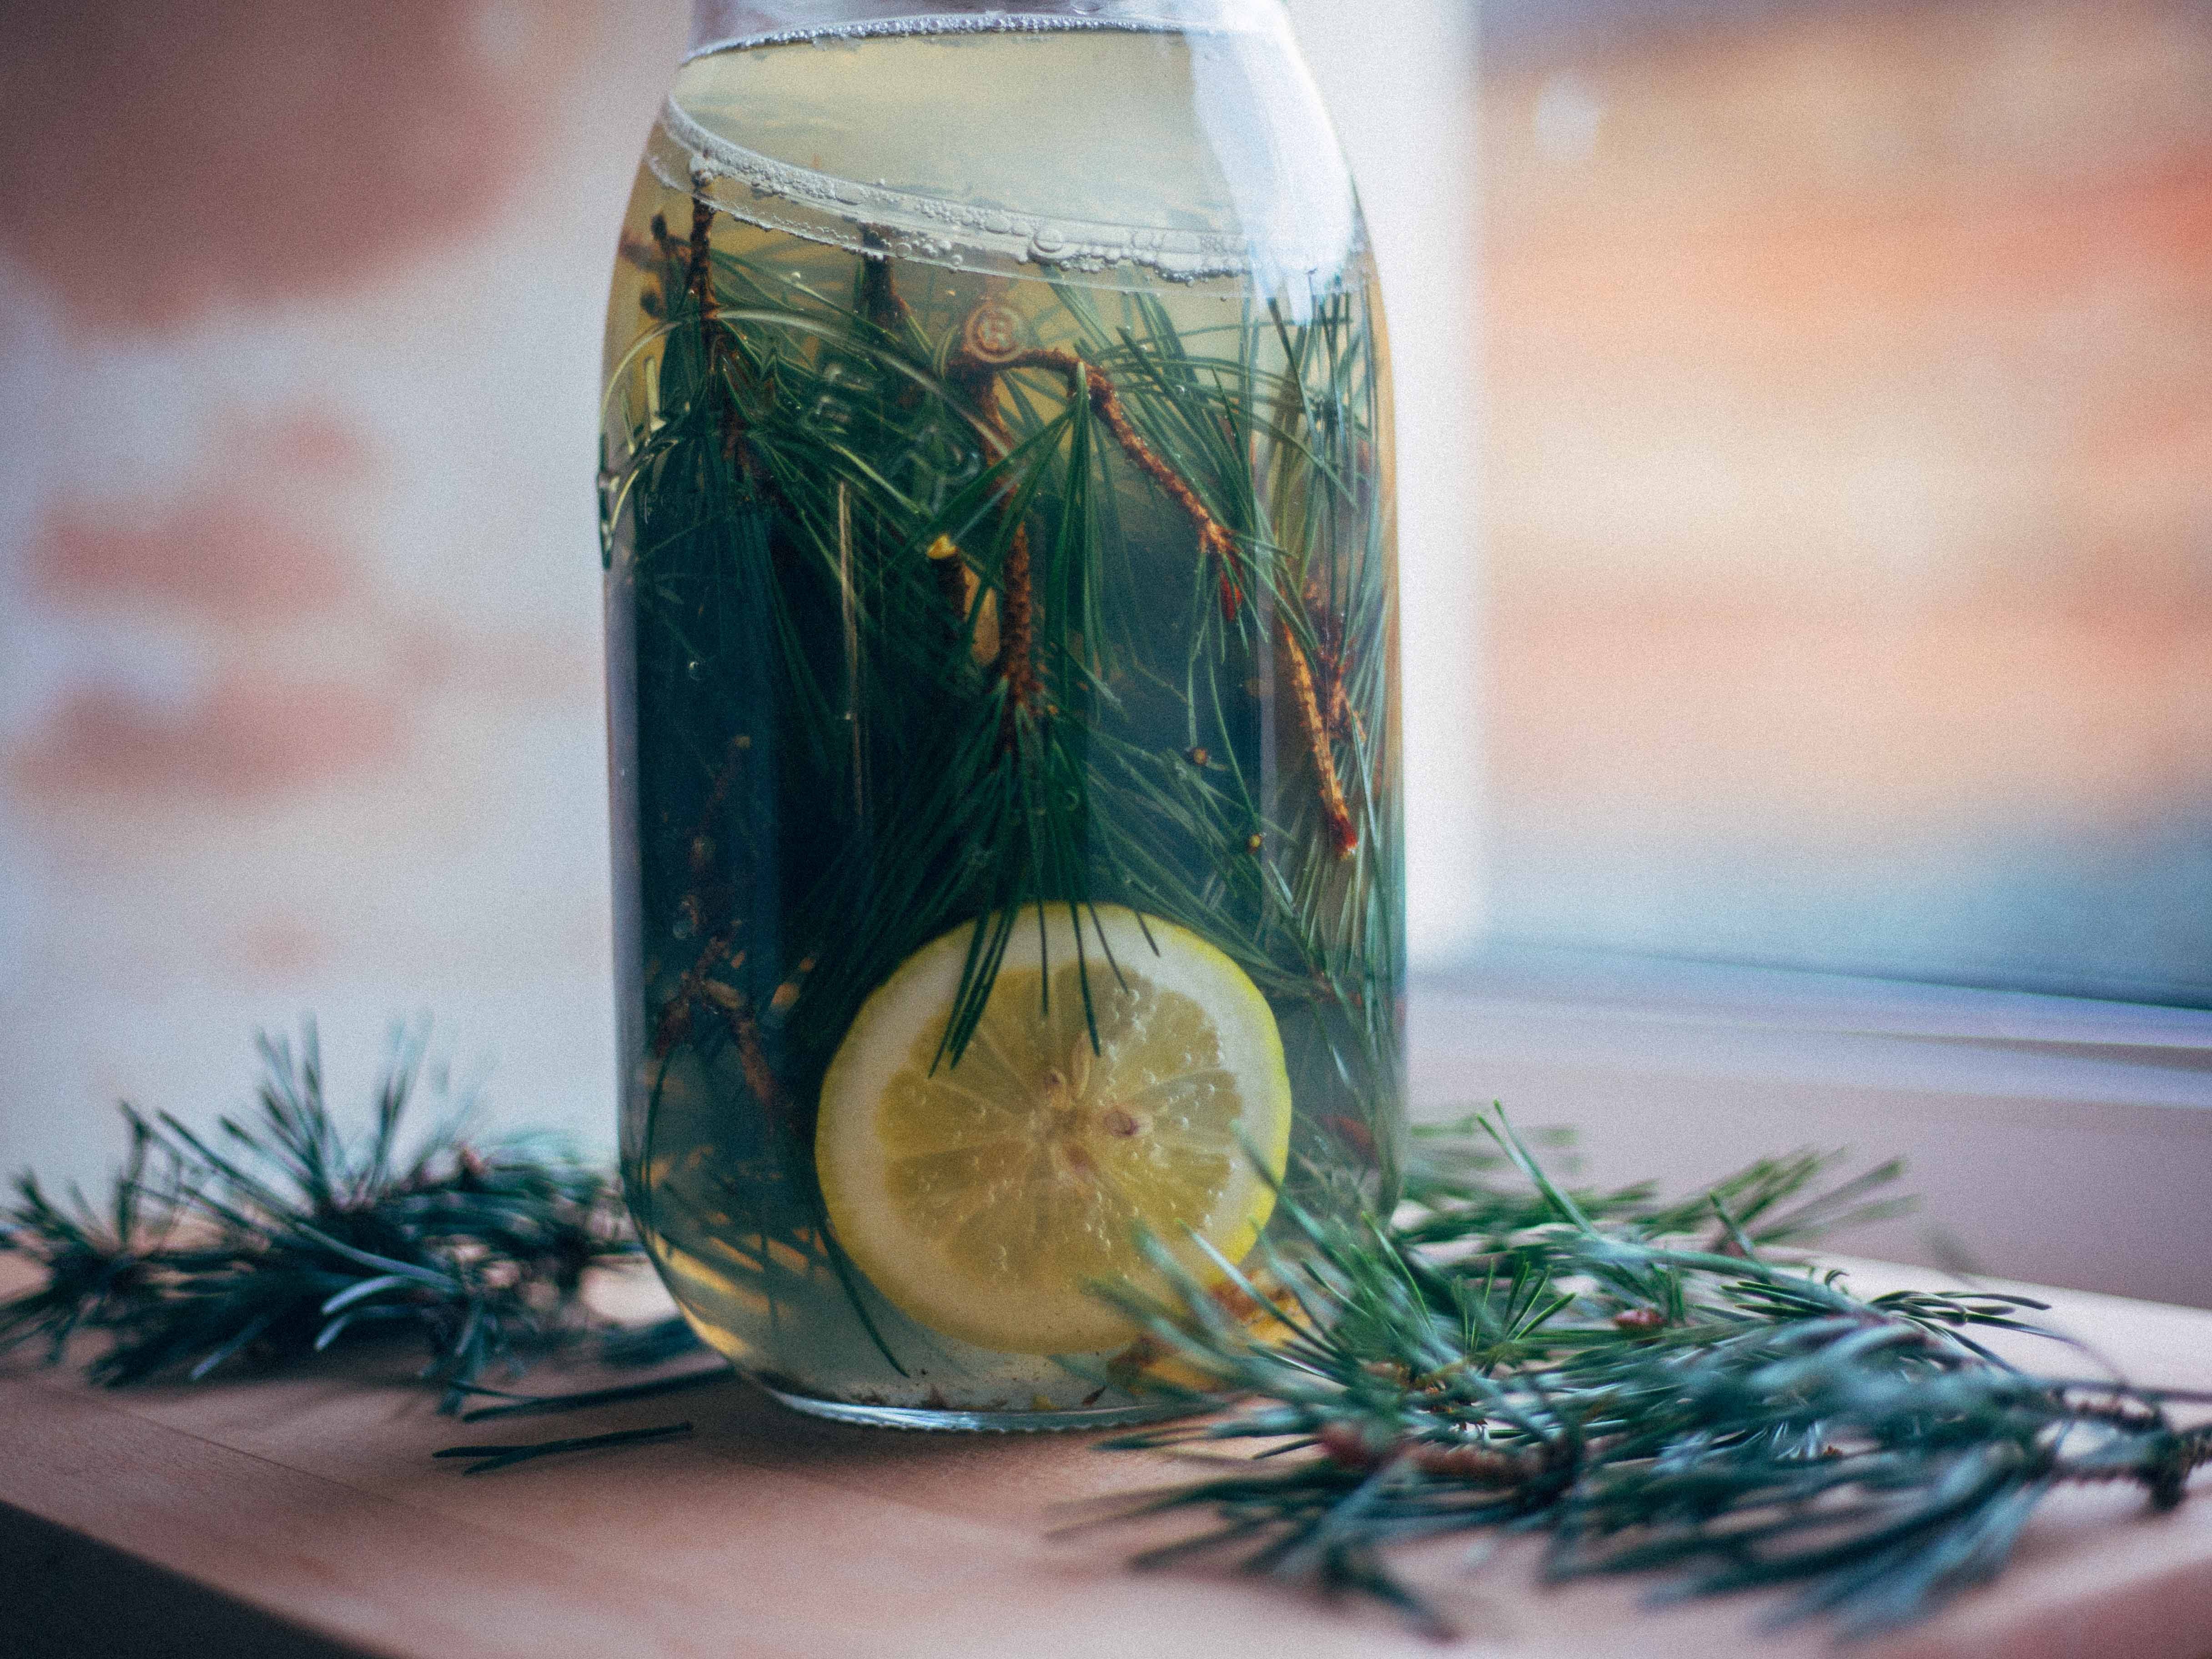
Pine Needle soda: Pine is one of the most unique flavours (best described as a mouthful of forest, with a refreshing effect sometimes similar to menthol). Not all pine species are edible, so take care when selecting needles. I tend to forage from Scotts Pine here in Wales, but even edible varieties should be treated with caution if you are pregnant.
Oxidised Tea soda: If you’ve made the teas from my previous newsletter (found here) then I highly recommend you try a combination of cold and hot soaking to extract great flavours, then mix with fresh herbs like verbena or ginger root to inoculate with living yeasts.
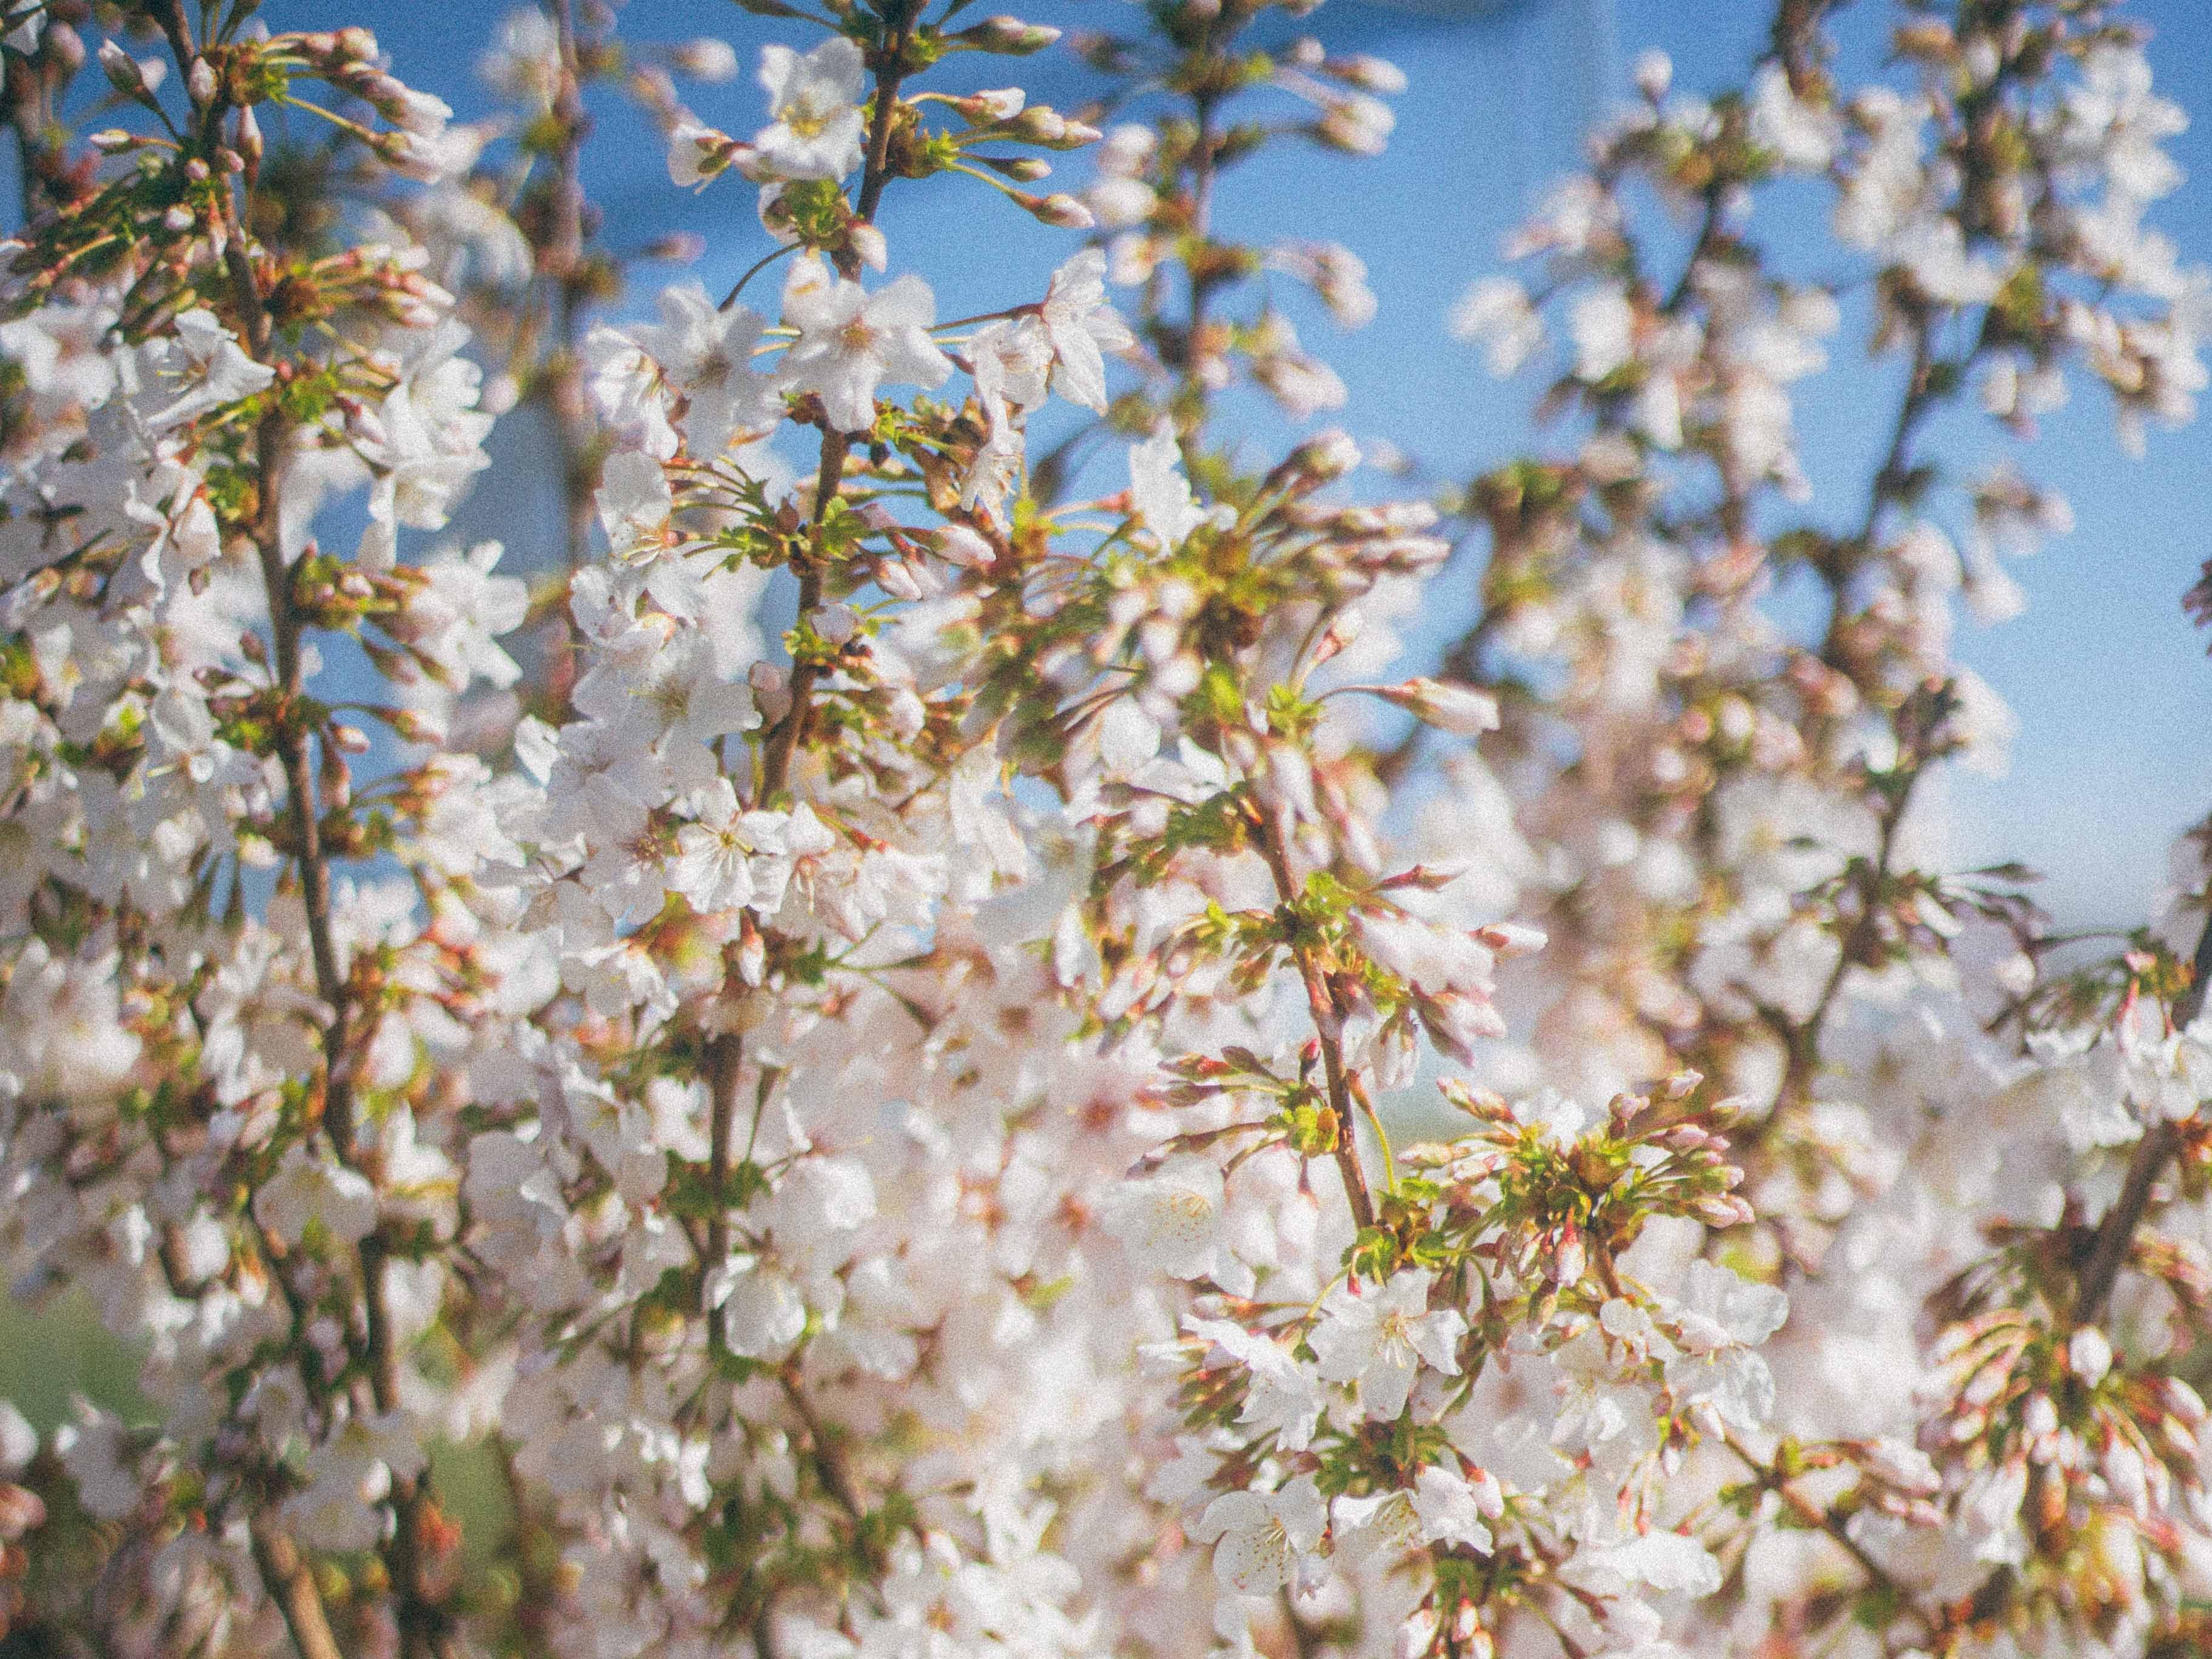
Apricot, Cherry, Plum Blossom soda: Once again, paired with lemon, makes a beautiful, refined drink in Spring. Use a white raw cane sugar to make the most of the colour. Which also works very well with rose petals.
Troubleshooting:
There are a couple of things that can happen with this kind of technique, some can be countered, others will need you to restart.
Stalling or false start. It can be tricky to know if anything is happening due to the breathable lid in this process, but if you notice nothing about the look or smell changes in time, chances are you need to give it a bit more life. To do this, give it a really good stir. Create a vortex in the liquid to introduce as much oxygen as you can, and leave it somewhere warm. This will kick start the process again.
Unpleasant flavour. Due to the nature of wild yeasts, sometimes, unpleasant flavours can crop up. Not to be confused with awful flavour or smells, which is usually a sign of spoilage, unpleasant flavours should be countered by adjusting temperature and fixing the taste post-fermentation. Sweeten with extra honey or sugar, or mix with other drinks.
Biofilm. Sometimes, yeasts and bacteria can produce odd textures. In the case of vinegar and kombucha, layers of cellulose can form. Other times, kahm yeast can produce a foul tasting biofilm that’s completely harmless but you’ll want to remove. And sometimes (rarely) yeasts can produce a slimy thickener at the surface of the liquid. Whilst this is rare, if it does happen, I’d recommend throwing it away and starting again.
Closing words
I hope you’ve found this article useful. I cannot stress enough how easy and incredible wild sodas are to make. If you’d like to learn more about them, I recommend two books. The first is Wildcraft Fermentation by Pascal Boundar. The second, of course, is mine, The Fermentation Kitchen, where I show you how to make many fermented sodas, ginger bug, ginger beer, tepache, and much more. So if the world of natural fermented drinks is your thing, you can check that out here.
If you have any questions, please feel free to ask them down below. And, if you’d be so kind, sharing or restacking my posts help them reach more people.
P.S. My book is out in the US tomorrow!
Have a wonderful week, subscribe for more, and I’ll see you again soon.
Sam
Jeez Sam! This is amazing.
I cannot wait to try this! Been meaning to get onto my fermentation journey and this feels like the perfect baby step. Thanks Sam!! Will feedback on outcomes 🫡